How to German Schmear my ugly stone fireplace? If you are asking yourself this question, then you are probably ready to make a change. You can bring an old-world charm to your outdated stone fireplace, with the DIY technique called German Schmear. German Schmear is very DIY friendly and I am confident you could get this done in one Saturday! In this DIY German Schmear tutorial, I will walk you through all the steps to make your fireplace an old-world charm. I’ll even share what not to do!
Pin Old World German Schmear Stone Fireplace!

Why You Should Leave the Rock Up!
The rocks that adorn my fireplace mantle, were gathered from the hills in our area. So they are not only natural but native to the area. That is a cool fact! I love bringing the out doors in. If I want to bring an old world charm into my home, then I should use the same elements they used in old times. To build a charming cottage 1,000 years ago, they would have built their fireplace from the rocks in their environment.

This home is proof that new builds CAN have old world charm. Adding natural elements can bring a cozy, rustic, cottage feel to any space. Raw beams…natural stone…woven linens, bring nature indoors. Nature is all the world has ever had to work with.
The same pieces that build up the red and orange bluffs surrounding my home are in my living room.
So why change it?
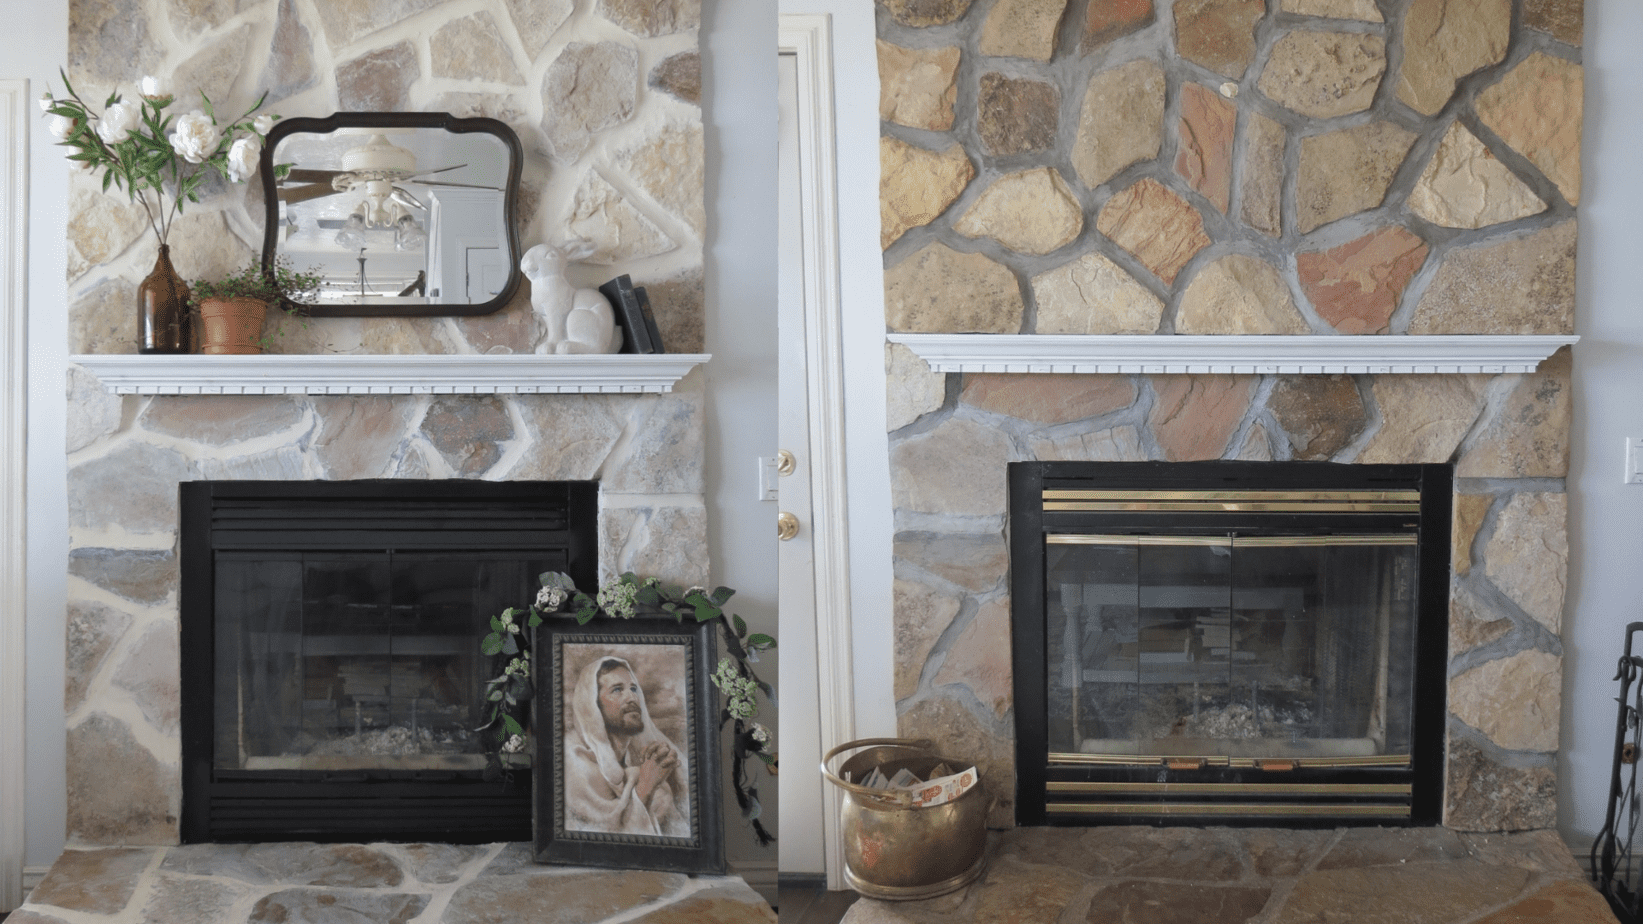
The mortar was falling off in some areas, and had been repaired in a totally different color in other areas. Resulting in an uneven and sloppy mortar job. The fireplace insert was screaming 90’s!!!!! With its chrome gold detail. I had been staring at this fireplace for the past three years wondering when, when….. when will I finally do something with this? Well one beautiful spring day, actually the night before, I looked at the fireplace one last time, and with determination said, “I’m going to change that!” The next morning that is exactly what I did.

Take a good look at those before photos; now say good bye 90’s dream.
Lets Do this Old World German Schmear Fireplace!
If you have a similar 90’s dream, or nightmare, keep reading. I’m going to tell you what I used and what I did to turn my fireplace into a cozy, beautiful, cottage dream.
If you would rather watch this whole project go up, here is the video. I prefer that method my self.
Find a free Printable List here click on image

What You Need to German Schmear:
Bellow you will find all the materials that I used for this project and the Amazon link, so you can get this thing started!
You will need:
- Gloves
- Big Grouting Sponge
- Flexible putty knife
- Premixed grout
- Bucket of water
- Masking tape
- Brown General Purpose masking paper
- Drop cloth (I used an old sheet)
- High Heat Matte Black Spray Paint

The Right Grout is Key!
So lets talk grout here for a second.
As pictured I already had on hand Fusion Pro premixed grout, color linen; actually got this brand from home depot. I used this grout on my kitchen floor and it worked great for that project. There’s just a lot in that container! So only buy a container that big if you are doing a huge project. I had so much left over. The color was the problem, Linen was much more of a tan.
I didn’t want pure white, but I wanted a creamy warm white. So after slapping the linen color on my fireplace, freaking out, breathing deep and calling my sister in-law….I went to ACE Hardware and picked up 3 small buckets of Simple Grout, Pre mixed, color Alabaster (as this was the only premixed grout they had)
This product was perfect for this project. I cant emphasis enough how wonderful premixed grout is! No mixing! Ready to use. Seals on its own! I mean come on, win, win, win! I went right over my former mistakes and it was just fine.
Technique: German Schmear Stone Fireplace
What the heck is German Schmear? You have probably heard Joanna Gaines use this term and seen it on Fixer Upper. It is a method that copies the look of centuries old cottages and castles in northern Germany. Mimicking the decay of old plaster falling off stone walls. Defiantly brings a European, old-world charm.
Step one: Cover fireplace insert with painters paper and masking tape. Cover surrounding area with drop cloth. This gets messy!
Step two: Use the correct color! And apply the grout to fireplace stone with putty knife. If there are big gaps between rocks, use your hand to smear the grout. Smear the grout right over the stone.
Step three: Wet sponge and wipe the surface perpendicular to the grout lines. Wipe the stone as much as you would like to be revealed. I wanted to see the colors in my rock still. But this really is up to preference.
Step Four: Repeat steps two and three. Do don’t leave grout on surface more than a few minutes; it will start to set. Make sure your grout lines are smooth. You can wet the sponge again to go over any rough spots.
Last step: Erase the 90’s gold chrome. Cover stone fireplace hearth and glass. Or what ever you don’t want black paint on. Use a high heat spray paint. Make sure you purchase high heat paint. I used Rust-Oleum Specialty high Heat Mate Black. Here is the link:
AS AN AMAZON ASSOCIATE I EARN FROM QUALIFYING PURCHASES COPYRIGHT © 2021 WYOMINGSAGE
Who loves the cozy, old world, cottage feel?!
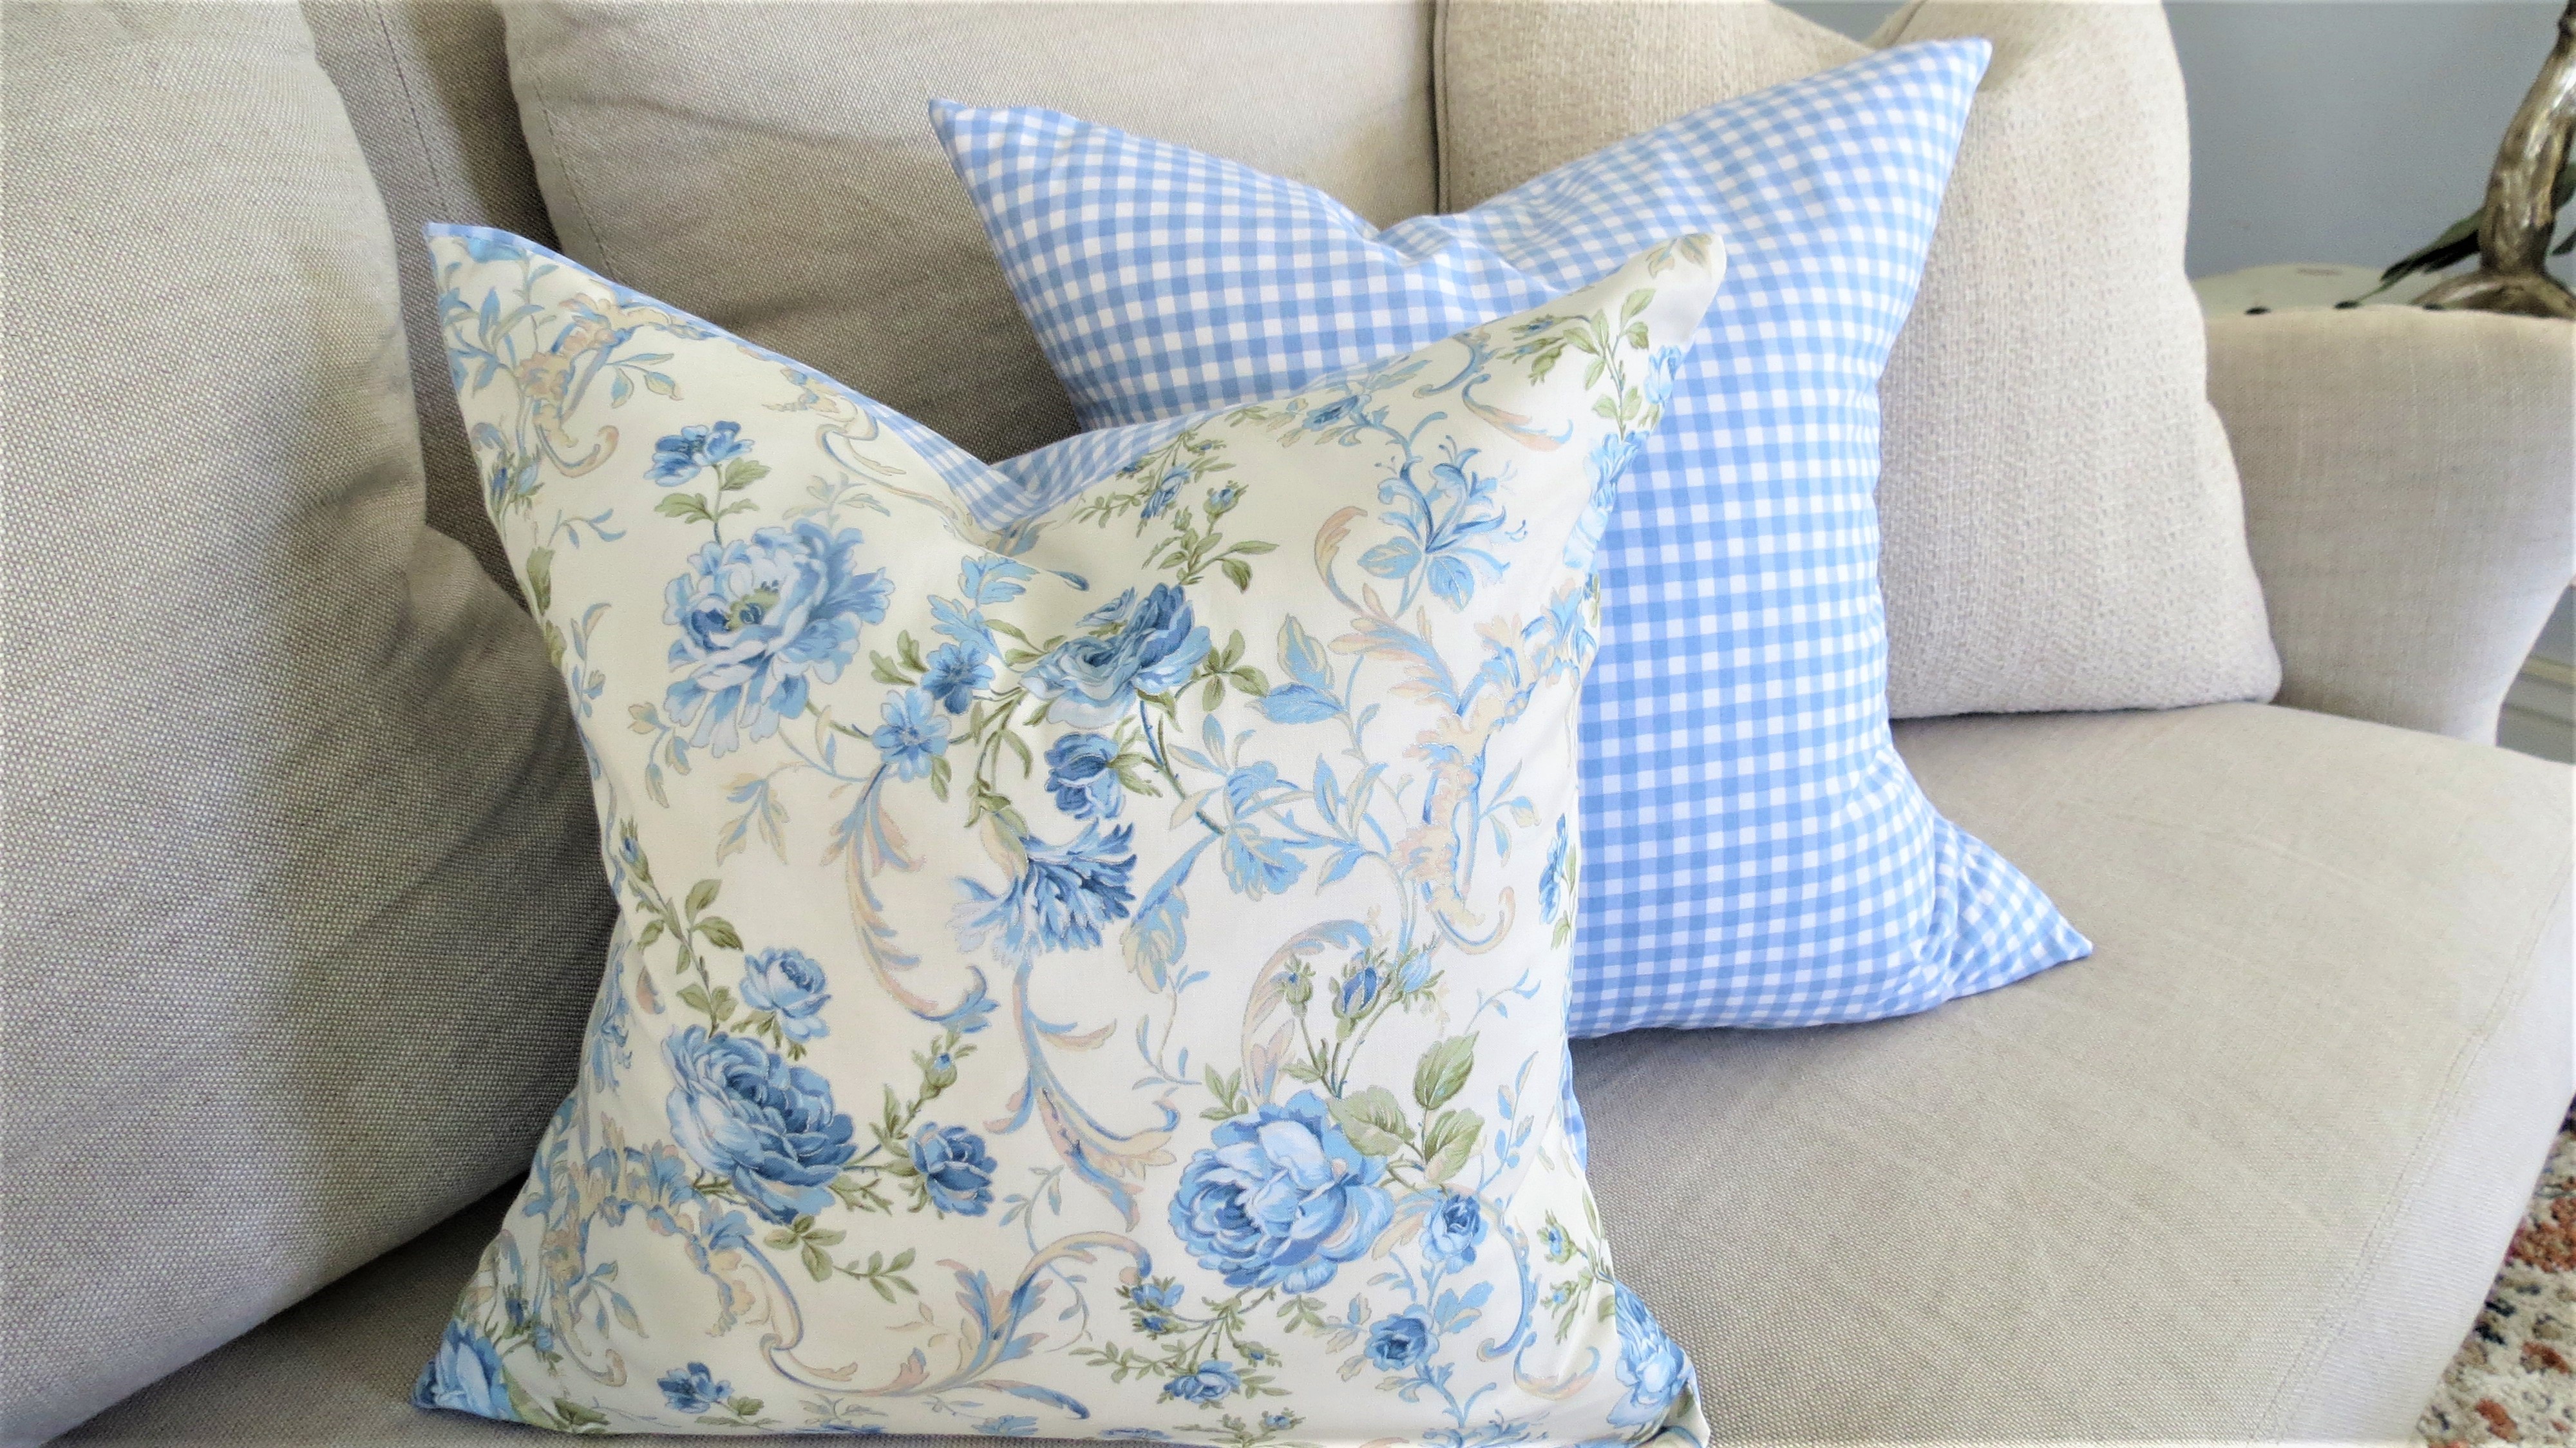
If you’re loving my style, check out this easy DIY no sew,
Feel free to ask any questions or advise. Thank you for joining me as I Restore Home, Family and Spirt. Love ya lots, Jenilee.


My wife and I are planning to German Smear our fireplace. We purchased the simple grout you used. My wife read the directions and is scared because the simple grout container warns to not use for spans greater than 1/2 inch. Have you noticed any crumbling? I am hoping to use the product you used instead of mortar. Please advise on how your project is holding up.
Thanks!
Hey Gregory, It is very wise to read the instructions when ever you are doing a project, so good job! Though the gaps were large on my fireplace, they were shallow. So it was a thin set if that makes senses. The grout did dry very hard and solid. I also like how it sealed, so no crumbling at all. I would suggest testing it out in an area that’s not very noticeable. This was a great question! Thanks for asking. I hope it works out great! I’d love to see how it turns out!