This envelope pillowcase tutorial is perfect for the beginner sewer because, this pillowcase requires NO zipper! It is also a great tutorial for teaching your kids how to sew. The steps are clear and simple to follow. And the pattern is forgiving. Making it a great project for beginning sewers.

Change your pillows with the season with out cluttering your closet
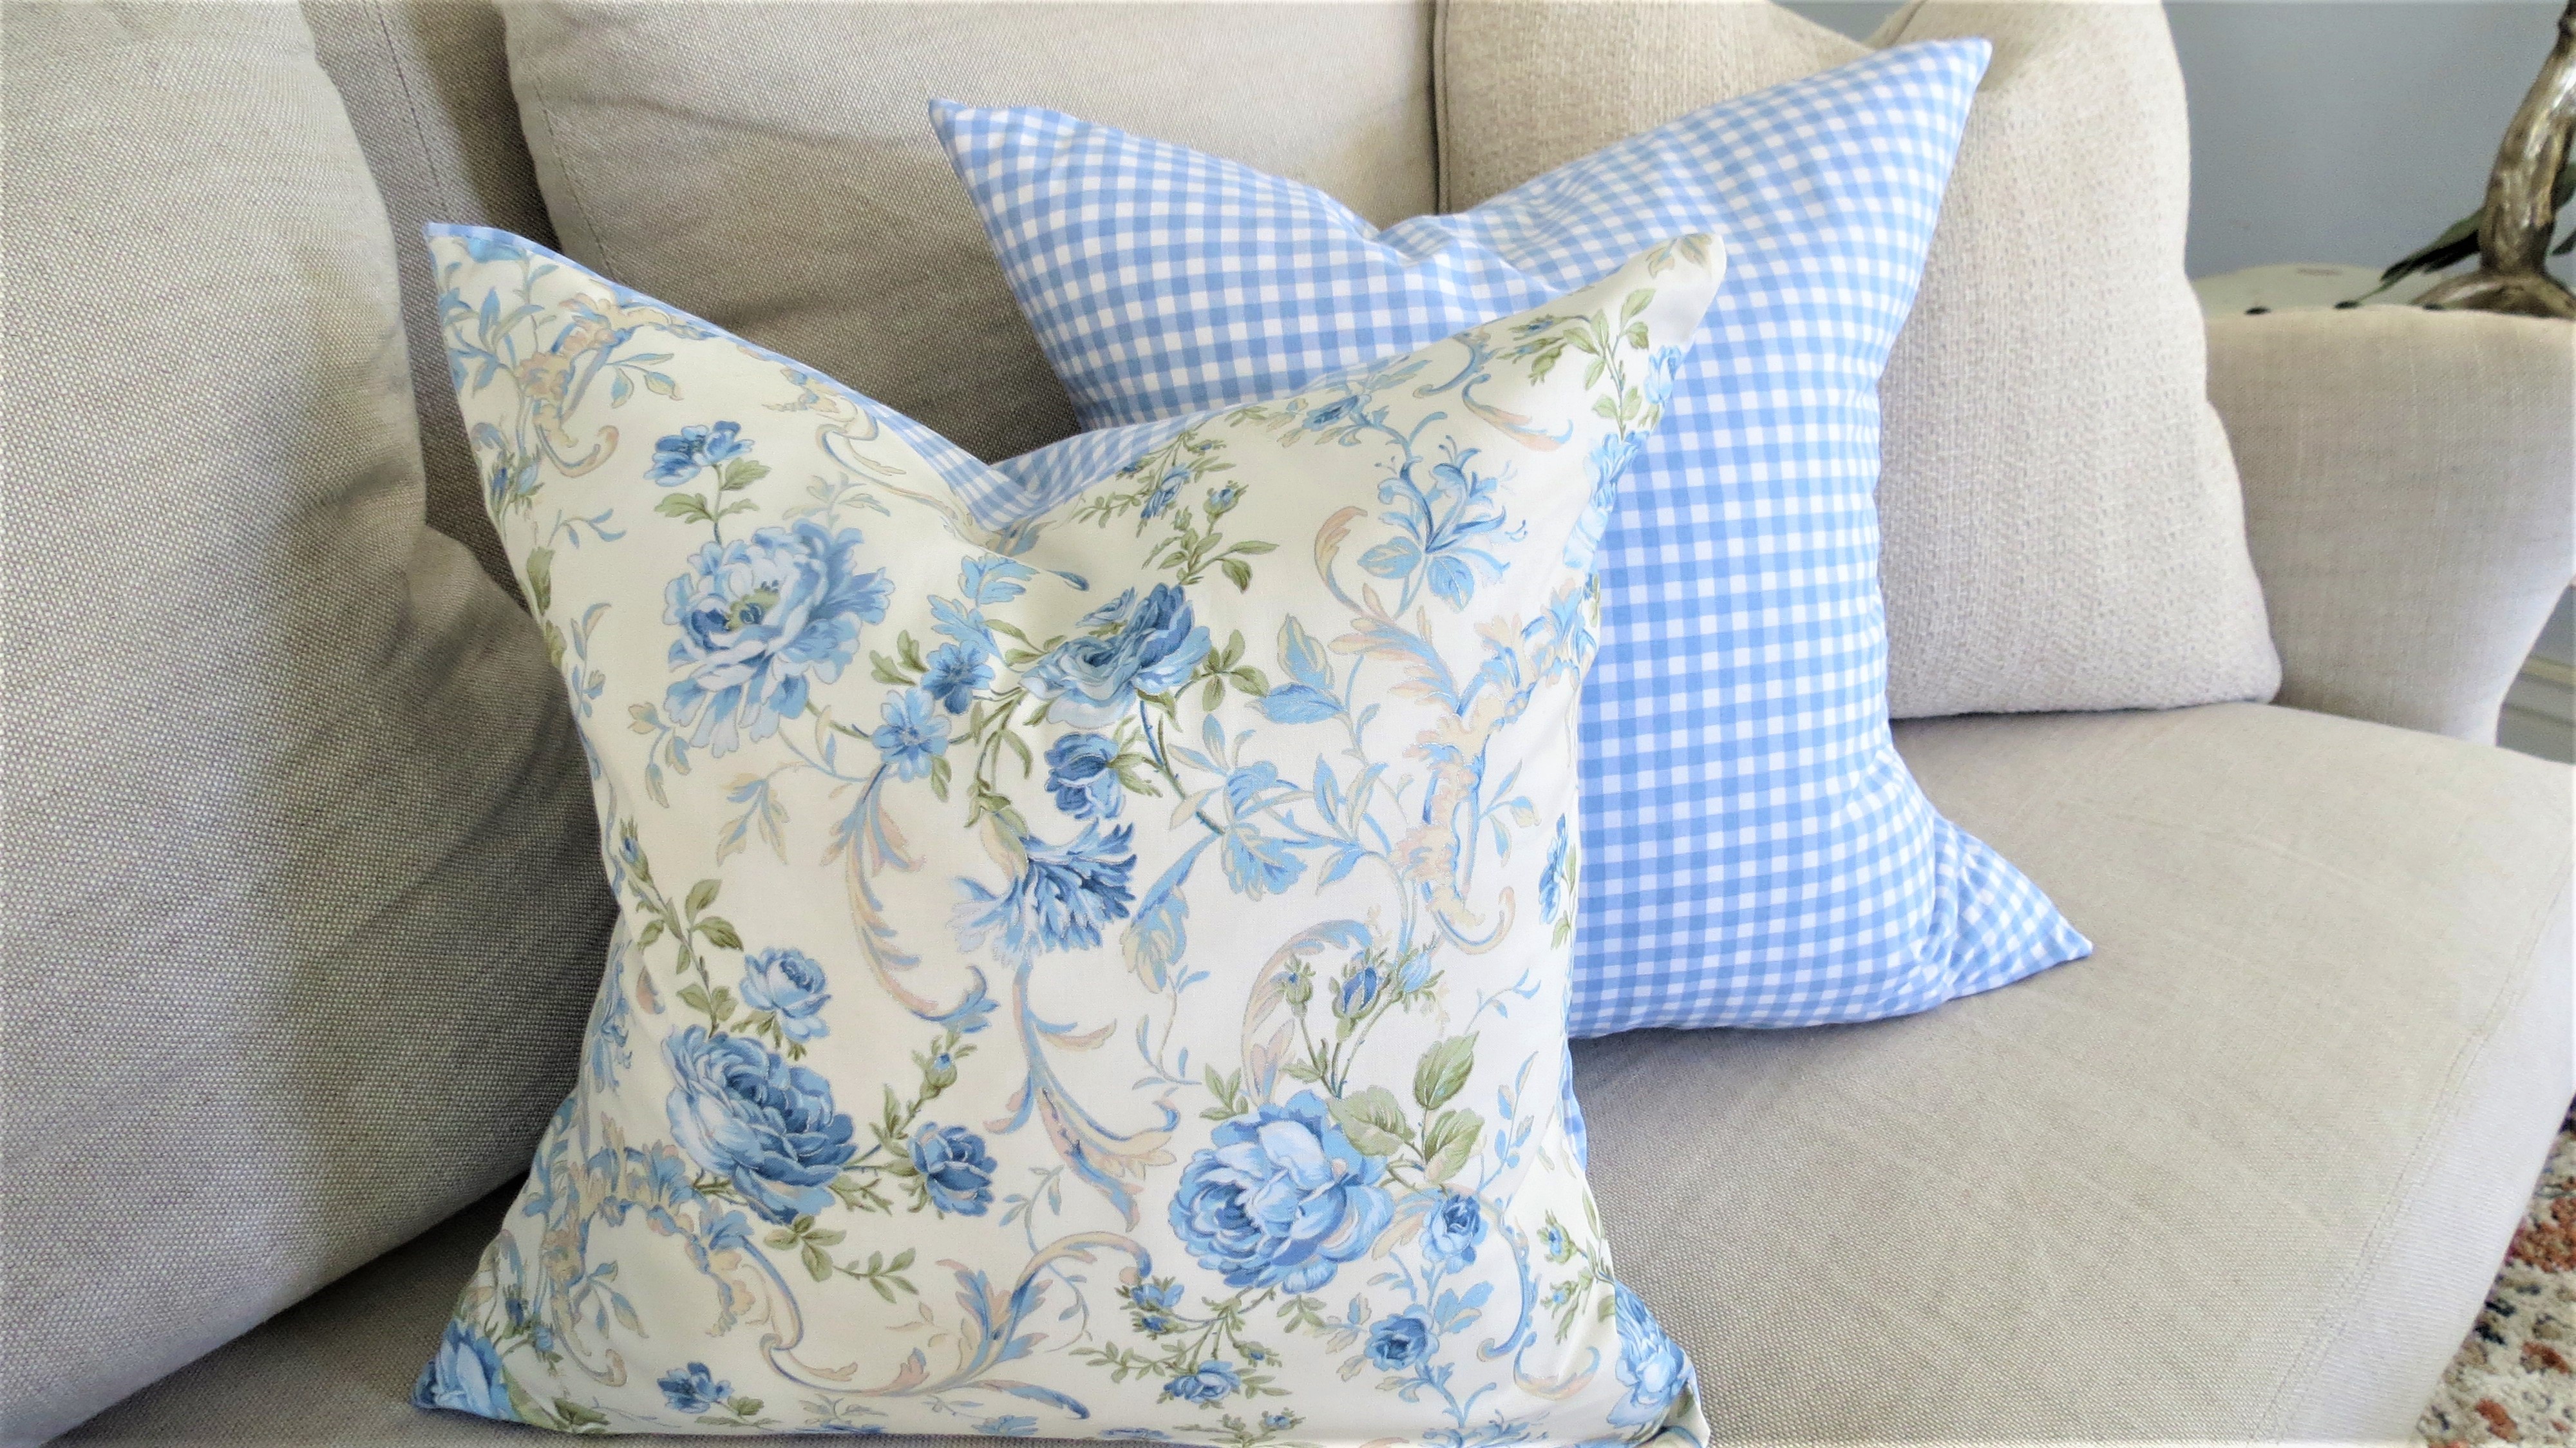
Changing your throw pillows can be an easy way to freshen up, with the seasons. This spring I wanted to brighten up my living room and bring spring indoors. Nothing says spring more than florals! Am I right? So off I went to my local shops to look for new throw pillows. But lets be honest, new throw pillows can be EXPENSIVE! Especially if you are buying new ones each season. I used to buy a new throw pillow every 3 months. But that not only adds up in $$ but also, where the heck do you store all those pillows in the mean time?

Then you have to store all those pillows. And like who has room for that?!
So my solution is envelope pillow cases!
You can buy single pillow covers online and I’ve done that as well. This year I wasn’t able to find any pillow covers that I really liked. So I decided to make them my self. Off I went to shop for fabric that I LOVED! The fun and fantastic thing about shopping for a whole set of pillow cases is that you can really coordinate fabrics. While shopping fabrics, you can put them side by side and really see what looks good together. If your shopping online you can put screen shots together. The point is to see what fabrics compliment each other.

Ok, You’ve decided that new throw pillows are in order. You’ve decided that making them is the right thing for you. You have also decided to make this as easy as possible. And you’ve found this awesome envelope pillow case tutorial. Here is what you need to know to make the easiest pillow covers ever!
How do I make an envelope pillow case?
I’ll tell you and show you!
What you will need for this tutorial:
- Sewing Machine
- fabric
- coordinating thread
- pillow insert
- measuring tape
- fabric scissors
- pins
Visual Learners! Watch it Here!
- Find coordinating fabrics for your pillow cases.
- How many pillows are you making? Each pillow will take about a yard and a half.
- Buy the right amount of fabric.

- Buy a pillow insert or use an existing one. I suggest using one you already have. I’m always trying to save a buck. Plus you wont have to store as many pillows in your closet later!
- Measure your pillow insert.

You will be cutting 3 pieces of fabric. The first piece will be 1 inch larger all the way around, than your insert. So if your insert it 18×18″ the first piece will be 19×19″. The flaps will be 2 separate pieces. And here is where the math comes in.
The flaps need to be 6 or 8 inches longer than the 1st piece. So if your first piece is 19 inches, 19+6= 25. Then divide that number by 2. So your back flaps will be 12.5 round up to 13 inches.

Measurements for different sizes of pillow inserts:
Here is the math done for you:
- Pillow Insert 15×15″ Cut (1) 16×16″ (1) 16×11″ (1) 6×12″
- Pillow Insert 16×16″ Cut (1) 17×17″ (1) 17×12″ (1) 17×12″
- Pillow Insert 18×18″- Cut (1) 19×19″ (1) 19×13″ (1) 19×14″
- Pillow Insert 12×18″- Cut (1) 13×19″ (1) 9×19″ (1) 9×20″
- Pillow Insert 27×27″- (1) 28×28″ (1) 28×19″ (1) 28×17″
Cut your fabric according to measurements of pillow insert.

Iron your cut pieces of fabric. Use water or wrinkle release.

- Take your ironed flap piece and turn inside fabric up.
- Iron the long side 1 quarter of an inch down. Getting the fabric really damp helps.

- Fold it down another 1 quarter of an inch.
- Sew the folded edge.
- Repeat steps 5 and 6 with other flap piece.

- Place the first piece (square 19×19) inside out on the table. Put the flaps, also facing inside out over the square piece.
- Align the edges and pin them together. It’s ok if the edges don’t line perfectly, but do your best.

Sew the edges of the pinned fabric. Taking the pins out as you go.

- Cut corners above the stich. This will make the corners a crisp angle.

Finish it up!
Turn the pillow case right side out.
Iron the pillowcase edges so they’re nice and crisp!

Put your pillow insert in!

Congratulations! It’s complete. Now enjoy the beauty of your creation. Cuddle up to your pillow and take a nap!

Shop This Post:
Joann’s Fabric
Light Blue Gingham https://bit.ly/3dMwsmM

Blue Flowers and Scrolls https://bit.ly/3eqW8Et

Other Vintage Florals You may Love:
Red Vintage Floral https://bit.ly/3xlakaU

Click this image for Free Printable Instructions:

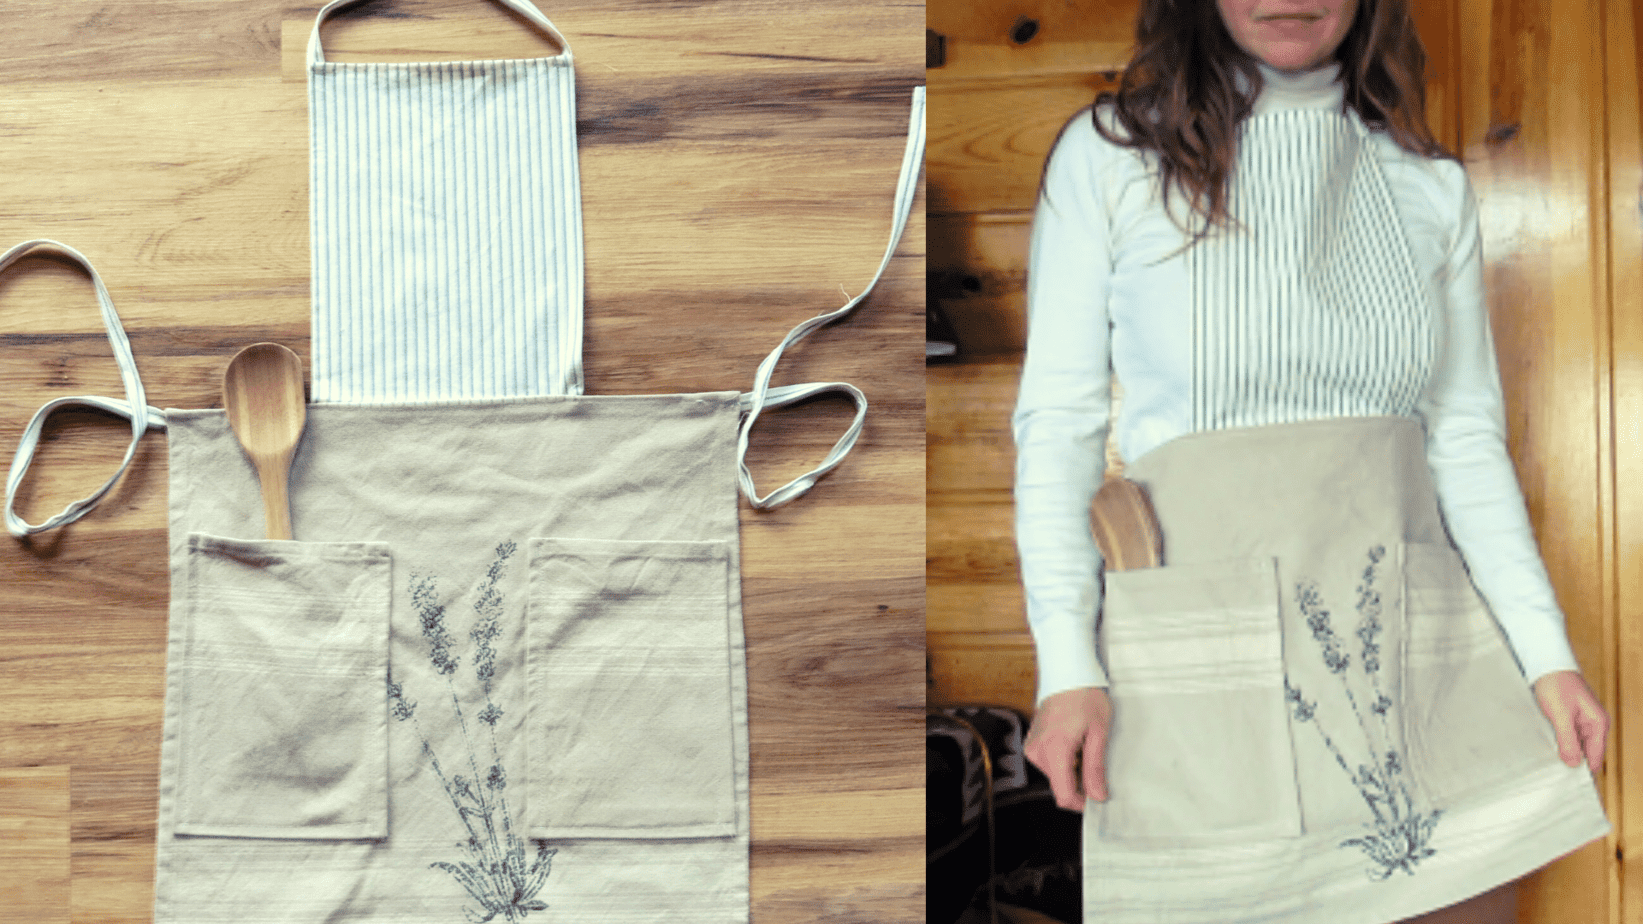
Check out this Easy Sewing Tutorial:
How to make an apron from Tea towels with deep pockets – (wyomingsage.com)
In this envelope pillow case tutorial, I hope you had a blast! And love your new throw pillows! I’d love to see what your working on. Put a picture of your pillow in the comments.
If you loved this post, let me know in the comments below!
Thanks for joining me as I restore home, family and spirit.
Love ya lots, Jenilee

This is such a cute idea! I love how creative you are, your such a inspiration. Keep up the good work!
thanks Audra!
Great work! So easy to make and such a nice addition to any room 😉
Thank you Diane!